Cinnamon Raisin Bread (no knead)

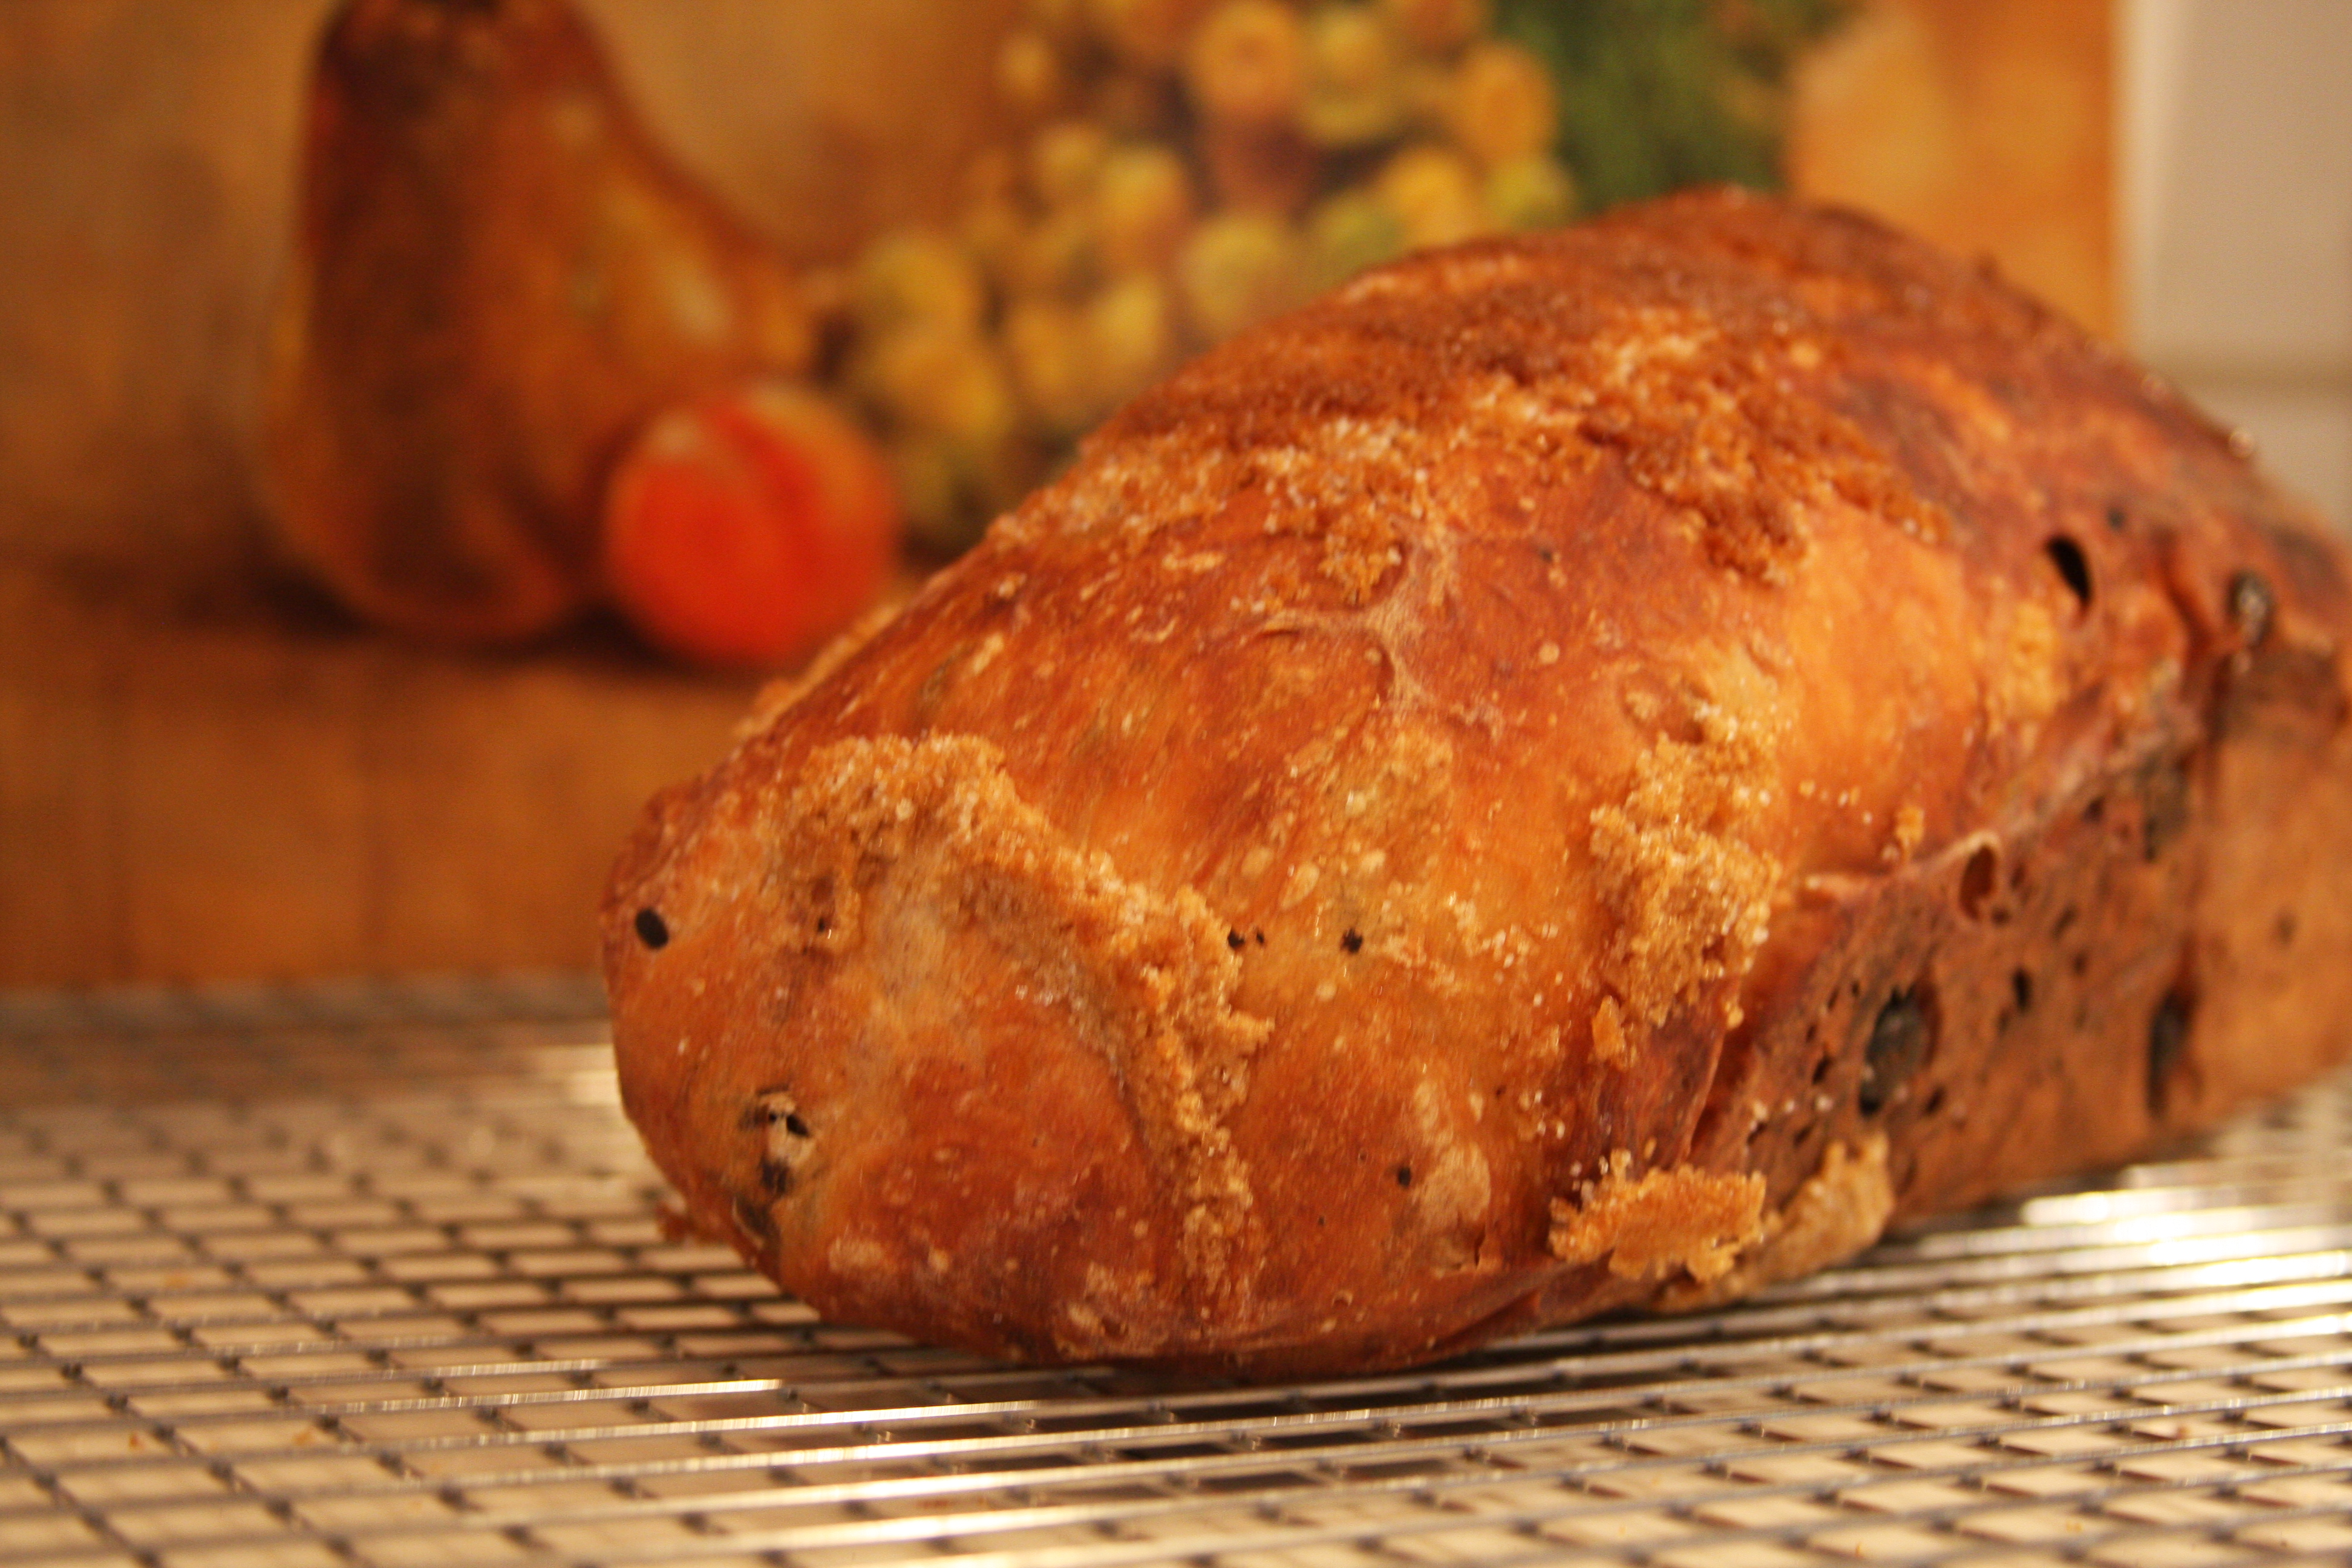
This is a bread that smells absolutely amazing while baking… no really… better than a plain ‘ol white loaf… it’s wonderful. And this review comes from someone (yours truly) who doesn’t even like cinnamon raisin bread (true story).  The best part about this loaf- it’s even better after it begins to go stale and you use it to make french toast.  But good luck with that- my tip- just make two loaves to start and then you have an entire loaf devoted to french toast.  

Cinnamon Raisin Bread (no knead)

Ingredients:
3 cups white bread flour
½ teaspoon active dry yeast
½ teaspoon salt
1 teaspoon Diastatic Malt Powder (optional)
½ cup brown sugar
¾ cup raisins
1 ½ cups cold water
3 teaspoons cinnamon

  1. In a large bowl, combine flour, yeast, salt, diastatic malt powder, raisins and half (1/4 cup) of the brown sugar.
  2. Add water and mix until the dough is shaggy, add more water as needed (I’d recommend adding in tablespoon increments).
  3. Cover loosely with plastic wrap and let it rest for 12-24 hours.
  4. Lightly flour a work surface and place dough on it; sprinkle it with a little more flour and fold it over on itself once or twice- sprinkling with cinnamon before each fold.
  5. Transfer the dough to a container similar to the one you are using to bake (this helps shape the dough, if you are using a dutch oven to bake, try using another pot or bowl to allow the dough to rise before baking).
  6. Cover loosely with plastic wrap and let rest about 2 hours.
  7. During the last 30 minutes of your rest time, put 3-4 quart heavy covered dutch oven in oven, preheat oven to 450 degrees.
  8. Carefully remove dutch oven pot from oven, remove the lid and transfer dough 
    IMG_6917
     with parchment paper) to it. Sprinkle dough with remaining brown sugar.
  9. Cover with lid and bake 30 minutes, then remove lid and bake another 15 to 30 minutes, until loaf is golden brown. Cool on a rack.
  10. Allow bread to completely cool before slicing and serving.

Cherry Almond Bread (no knead)

So not only have I been stuck in a so called brunch vortex, I’ve also been on a baking binge.  Yup, that’s right- I’m a binge baker!  My oven went from being a kitchen storage unit to a fully operational 24-7 heater.  Ok- not exactly- that’s a bit of an exaggeration.  But the truth is I have been doing a lot of baking recently.  This is yet another no knead bread to add to the repertoire. This bread is delicious anytime of day served as a side or snack.  

Cherry Almond Bread (no-knead)

Ingredients: IMG_3963

3 cups bread flour
½ teaspoon yeast
1 teaspoon salt
1 teaspoon diastatic malt powder (optional)
¾ cup dried cherries
½ cup sliced almonds
1 ½ cup water
¼ teaspoon pure almond extract
1 ¼ cup cold water

  1. In a large bowl add all the dry ingredients, mix. 
  2. Gently stir in dried cherries and almonds.
  3. Add the almond extract to the water, then add water to flour mixture, stir into flour mixture and blend until dough is shaggy and sticky (too sticky to knead).  If necessary, add additional water one teaspoon at a time.
  4. Cover bowl with plastic wrap, allow the dough to rest for at least 12 hours (in reality I’ve done anywhere from 8-24 hours).
  5. Lightly flour a work surface and place dough on it; sprinkle it with a little more flour and fold it over on itself once or twice. 
  6. Transfer the dough to a container similar to the one you are using to bake (this helps shape the dough, if you are using a dutch oven to bake, try using another pot or bowl to allow the dough to rise before baking).
  7. Cover loosely with plastic wrap and let rest about 2 hours.
  8. During the last 30 minutes of your rest time, put 3-4 quart heavy covered dutch oven in oven, preheat oven to 450 degrees.
  9. Carefully remove dutch oven pot from oven, remove the lid and transfer dough (with parchment paper) to it.
  10. Cover with lid and bake 30 minutes, then remove lid and bake another 15 to 30 minutes, until loaf is golden brown. Cool on a rack.
  11. Allow bread to completely cool before slicing and serving.

Beer Bread (no knead)

Bread and beer.  What can possibly go wrong?  Not much.  Well, perhaps the realistic likelihood of overeating and consuming entirely too much of a good thing in one sitting.  This bread is that good.  It’s dense, moist, hearty and delicious.  As an alternative to a lager you can use just about any beer for this recipe- the darker, stronger the brew the more intense the flavor in the bread (obviously).  In the future I will be trying this with a Guinness or something of the sort.  Do yourself a favor and wait for it to cool completely before serving, sampling or cutting (otherwise it crumbles and the flavors have not fully developed).

Beer Bread (no knead)

IMG_4270Ingredients:

1 ½ teaspoons active dry yeast
4 ½ cups white bread flour (divided)
½ cup warm water (about 100 degrees F)
½ teaspoon salt
1 teaspoon diastatic malt powder
1 12oz can of beer at room temperature (I used lager)

  1. In a large bowl add ½ cup of flour, ½ cup of warm water and yeast. Mix well.
  2. Gently add and stir remaining flour, salt and diastatic malt powder, then add the beer.
  3. Blend until dough is shaggy and sticky (too sticky to knead).  If necessary, add more water (I suggest adding it 1 tablespoon at a time).
  4. Cover bowl with plastic wrap, allow the dough to rest for at least 12 hours (in reality I’ve done anywhere from 8-24 hours).
  5. Lightly flour a work surface and place dough on it; sprinkle it with a little more flour and fold it over on itself once or twice.  I use parchment paper, it is still challenging.   This will not be easy- it is a sticky messy process.  Using the parchment paper, move dough to a container similar to the one you are using to bake (this helps shape the dough, if you are using a dutch oven to bake, try using another pot or bowl to allow the dough to rise before baking).
  6. Cover loosely with plastic wrap and let rest about 2 hours.
  7. During the last 30 minutes of your rest time, put 3-4 quart heavy covered dutch oven in oven, preheat oven to 450 degrees.
  8. Carefully remove dutch oven pot from oven, remove the lid and transfer dough (with parchment paper) to it, it may look like a mess, but that’s O.K.
  9. Cover with lid and bake 30 minutes, then remove lid and bake another 15 to 30 minutes, until loaf is golden brown. Cool on a rack.

NOTE: I highly recommend mastering the basic no-knead bread recipe first!

Garlic Rosemary Bread (no knead)

Garlic Rosemary

My house smells like heaven.  Ok, maybe that is an unfounded statement.  But I can tell you my house smells pretty darn good- it is filled with the aroma of baking bread.  I have harvested and sacrificed the last of the healthy rosemary from the garden to use in this recipe, and it was worth it.  Rosemary, olive oil, garlic and some kosher salt make a great combo of flavors for a bread that goes with just about any dinner, chili, pasta, protein… Tonight we will be enjoying ours with some traditional leftover spaghetti and meatballs. 

Garlic Rosemary Bread (no knead)

Ingredients:

3 cups bread flour
½ teaspoon yeast
¼ teaspoon salt
1 teaspoon Diastatic Malt Powder (optional)
¼ cup fresh rosemary (washed, and chopped)
3-5 cloves of garlic (finely minced)
1 ¼ cup cold water
Extra Virgin Olive Oil
Kosher Salt

  1. Add 1 tablespoon of olive oil to a pan, heat, and sauté the minced garlic, being careful not to burn it. Set aside.
  2. In a large bowl add flour.
  3. Gently stir in yeast, salt and diastatic malt powder to flour, then add rosemary and sautéed garlic.
  4. Add water to flour mixture, stir flour mixture and blend until dough is shaggy and sticky (too sticky to knead).
  5. Cover bowl with plastic wrap, allow the dough to rest for at least 12 hours (in reality I’ve done anywhere from 8-24 hours, in cold weather sometimes I preheat my oven to its lowest setting, turn it off and then place the bread covered with a moist dish towel in the oven to rise for the last few hours before I’m ready to bake).
  6. Lightly flour a work surface and place dough on it; sprinkle it with a little more flour and fold it over on itself once or twice. This will not be easy- it is a sticky messy process.   Transfer the dough to a container similar to the one you are using to bake, I recommend lining it with parchment paper (this helps shape the dough, if you are using a dutch oven to bake, try using another pot or bowl to allow the dough to rise before baking).*
  7. Cover loosely with plastic wrap and let rest about 2 hours (this is called proofing).
  8. During the last 30 minutes of your rest time, put 3-4 quart heavy covered dutch oven in oven, preheat oven to 450 degrees.
  9. Once your dough has re-risen and the oven preheated. Carefully remove the dough ball AND parchment paper and place on a work surface. Working quickly, brush the dough with extra virgin olive oil and sprinkle with kosher salt.
  10. Carefully remove dutch oven pot from oven, remove the lid and transfer dough (with parchment paper) to it, it may look like a mess, but that’s O.K.
  11. Cover with lid and bake 30 minutes, then remove lid and bake another 15 to 30 minutes, until loaf is golden brown. Cool on a rack.
  12. Allow bread to cool completely before cutting and serving.

*For my “work surface” I rely heavily on my King Arthur Silicone Rolling Mat.  It’s awesome.   It is an 18”x24 ½”  non-stick silicone mat. It sticks to the counter and doesn’t slide around while I gently work the dough, but with a very light dusting of flour the dough does not stick to the mat.  It’s also easy to clean.  If you are serious about your baking consider suggesting this item next time someone is looking for a gift idea for you!

Garlic Rosemary Bread

Rosemary Honey Bread

I am currently experiencing a surplus of herbs in the garden and have been looking for creative ways to put them to use.  What better way then using them in delicious, easy to make no-knead bread!

Rosemary Honey Bread 

3 cups bread flour
¼ teaspoon yeast
¼ teaspoon salt
1 teaspoon Diastatic Malt Powder(optional)
¼ cup fresh rosemary (washed, and torn by hand into small pieces)
1 ¼ cup cold water
3 tablespoons honey

  1. In a large bowl add flour.
  2. Gently stir in yeast, salt and diastatic malt powder to flour, then add rosemary.
  3. Add water to flour mixture, then add honey; stir into flour mixture and blend until dough is shaggy and sticky (too sticky to knead).
  4. Cover bowl with plastic wrap, allow the dough to rest for at least 12 hours (in reality I’ve done anywhere from 8-24 hours).
  5. Lightly flour a work surface and place dough on it; sprinkle it with a little more flour and fold it over on itself once or twice.  I use parchment paper, it is still challenging.   This will not be easy- it is a sticky messy process.  Using the parchment paper, move dough to a container similar to the one you are using to bake (this helps shape the dough, if you are using a dutch oven to bake, try using another pot or bowl to allow the dough to rise before baking).
  6. Cover loosely with plastic wrap and let rest about 2 hours.
  7. During the last 30 minutes of your rest time, put 3-4 quart heavy covered dutch oven in oven, preheat oven to 450 degrees.
  8. Carefully remove dutch oven pot from oven, remove the lid and transfer dough (with parchment paper) to it, it may look like a mess, but that’s O.K.
  9. Cover with lid and bake 30 minutes, then remove lid and bake another 15 to 30 minutes, until loaf is golden brown. Cool on a rack.
  10. Wait until the bread has completely cooled before cutting- trust me- it is worth it!

NOTE: You should master the basic no-knead bread baking process before starting in with this one.

Basic No-Knead Bread

It all started when I received the “My Bread” cook book by Jim Lahey. (Carried in most bookstores and of course on Amazon)  This is a fantastic book for beginner bread makers, and I highly recommend it. I still refer to it when I need a refresher.  Jim Lahey started baking no-knead bread in NYC and the method caught on.  The whole idea behind No-Knead bread making is that you don’t have to knead the bread, what a novel idea! The catch, you need a dutch oven to bake the bread in instead.  It’s totally worth it.  Ask for a nice dutch oven as a gift, or peruse yard sales- I’ve scored brand name dutch ovens both ways.

No-Knead bread baking is amazing, it is something my mother has shared with me and we both bake bread endlessly.  Everyone loves fresh bread, especially when it is homemade.  Fresh bread makes the perfect house warming gift, or dinner party add on.  You can make bread as a side, an appetizer, breakfast bread, dessert bread, the possibilities are endless! And once you master the basics, you can just keep exploring and adding new things.  Yes- you’ll create some real “rocks” of loaves.  I have made my share (and thus discovered the beauty of homemade croutons) but with the failures come the exciting new flavors and discoveries.

Basic No Knead Bread

3 cups bread flour
¼ teaspoon yeast
¼ teaspoon salt (most recipes call for more, I prefer to use as little salt as possible)
1 teaspoon Diastatic Malt Powder (optional)
1 ¼ cup cold water

  1. In a large bowl add flour.
  2. Gently stir in yeast, salt and diastatic malt powder to flour.
  3. Add water to flour mixture, stir into flour mixture and blend until dough is shaggy and sticky (too sticky to knead).  If necessary, add additional water one teaspoon at a time.
  4. Cover bowl with plastic wrap, allow the dough to rest for at least 12 hours (in reality I’ve done anywhere from 8-24 hours).
  5. Lightly flour a work surface and place dough on it; sprinkle it with a little more flour and fold it over on itself once or twice.  I use parchment paper, it is still challenging.   This will not be easy- it is a sticky messy process.  Using the parchment paper, move dough to a container similar to the one you are using to bake (this helps shape the dough, if you are using a dutch oven to bake, try using another pot or bowl to allow the dough to rise before baking).
  6. Cover loosely with plastic wrap and let rest about 2 hours.
  7. During the last 30 minutes of your rest time, put 3-4 quart heavy covered dutch oven in oven, preheat oven to 450 degrees.
  8. Carefully remove dutch oven pot from oven, remove the lid and transfer dough (with parchment paper) to it, it may look like a mess, but that’s O.K.
  9. Cover with lid and bake 30 minutes, then remove lid and bake another 15 to 30 minutes, until loaf is golden brown. Cool on a rack.
  10. Wait until the bread has completely cooled before cutting- trust me- it is worth it!

Basil &Sun-dried Tomato Bread

I do a lot of baking.  One of my favorite things to bake: No-knead bread.  Now that the garden is full of fresh herbs I am looking for ways to incorporate fresh ingredients into my bread.

No-Knead Basil & Sun-dried Tomato Bread 

4 cup flour
3/4 teaspoon yeast
1 tablespoon salt
2 cup water
3 tablespoon water
1 tablespoon honey
1 tablespoon fresh basil (chopped)
1/4 cup sun-dried tomatoes (chopped)
garlic powder (granules)

  1. In a large bowl add flour.
  2. Gently stir in yeast, chopped bail,  chopped sun-dried tomatoes, and salt to flour.
  3. Add honey to water; stir into flour mixture and blend until dough is shaggy and sticky (to sticky to knead).
  4. Cover bowl with plastic wrap, allow the dough to rest for at least 12 hours (in reality I’ve done anywhere from 8-24 hours).
  5. Lightly flour a work surface and place dough on it; sprinkle it with a little more flour and fold it over on itself once or twice.  I use parchment paper, it is still challenging.   This will not be easy- it is a sticky messy process.  Using the parchment paper, move dough to a container similar to the one you are using to bake (this helps shape the dough, if you are using a dutch oven to bake, try using another pot or bowl to allow the dough to rise before baking).
  6. Sprinkle dough with garlic powder. Cover loosely with plastic wrap and let rest about 2 hours.
  7. During the last 30 minutes of your rest time, put 3-4 quart heavy covered dutch oven in oven, preheat oven to 450 degrees.
  8. Carefully remove dutch oven pot from oven, remove the lid and transfer dough (with parchment paper) to it, it may look like a mess, but that’s O.K.
  9. Cover with lid and bake 30 minutes, then remove lid and bake another 15 to 30 minutes, until loaf is golden brown. Cool on a rack.
  10. Wait until the bread has completely cooled before cutting- trust me- it is worth it!

NOTE: You should master the basic no-knead bread baking process before starting in with this one. I’ll try to post my basic recipe soon!